

Difficulty: Beginners
Time: 2x 30 minutes
Yields: 6 soaps
I have to admit I was a bit skeptical when I first encountered the glow in the dark soap pigments, and even though they were bright in powder form, I wasn’t sure if the effect would last in soap. As you can see, they do work and they’re pretty spooky, if I say so myself!
Pure Nature stocks glow in the dark pigments in green and blue, and they are safe for cosmetic use.
I had a little play with the glow in the dark powder before doing these soaps, and I found out that they work great in melt and pour soap, but only if you don’t add colours that suspend. Dyes seem to work fine. But micas will block the pigment and you’ll lose the glow in the dark effect. In bath bombs you have to remember that only the outer layer of your bath bomb is exposed to sunlight, so any pigment not on the surface won’t glow in the bath. And lastly, they also work great in jelly soap! You can add food colouring to jelly soap and it will still glow. Great if you want green, glowing, slimy jelly soap!
For my halloween soaps this year, I’m using a skull and crossbones ice cube tray that I bought years ago, and will add the pigment to these to make them stand out and glow in the dark. Add these to a black square soap will make them pop out and look good even in normal light.

Apart from a skulls mold, you will also need a soap mold with cavities, I used one with square cavities, to embed the skulls into the black soap. To colour the soap black, I used activated charcoal powder, which is a fantastic black soap colourant and works just as well in melt and pour soap as cold process soap.
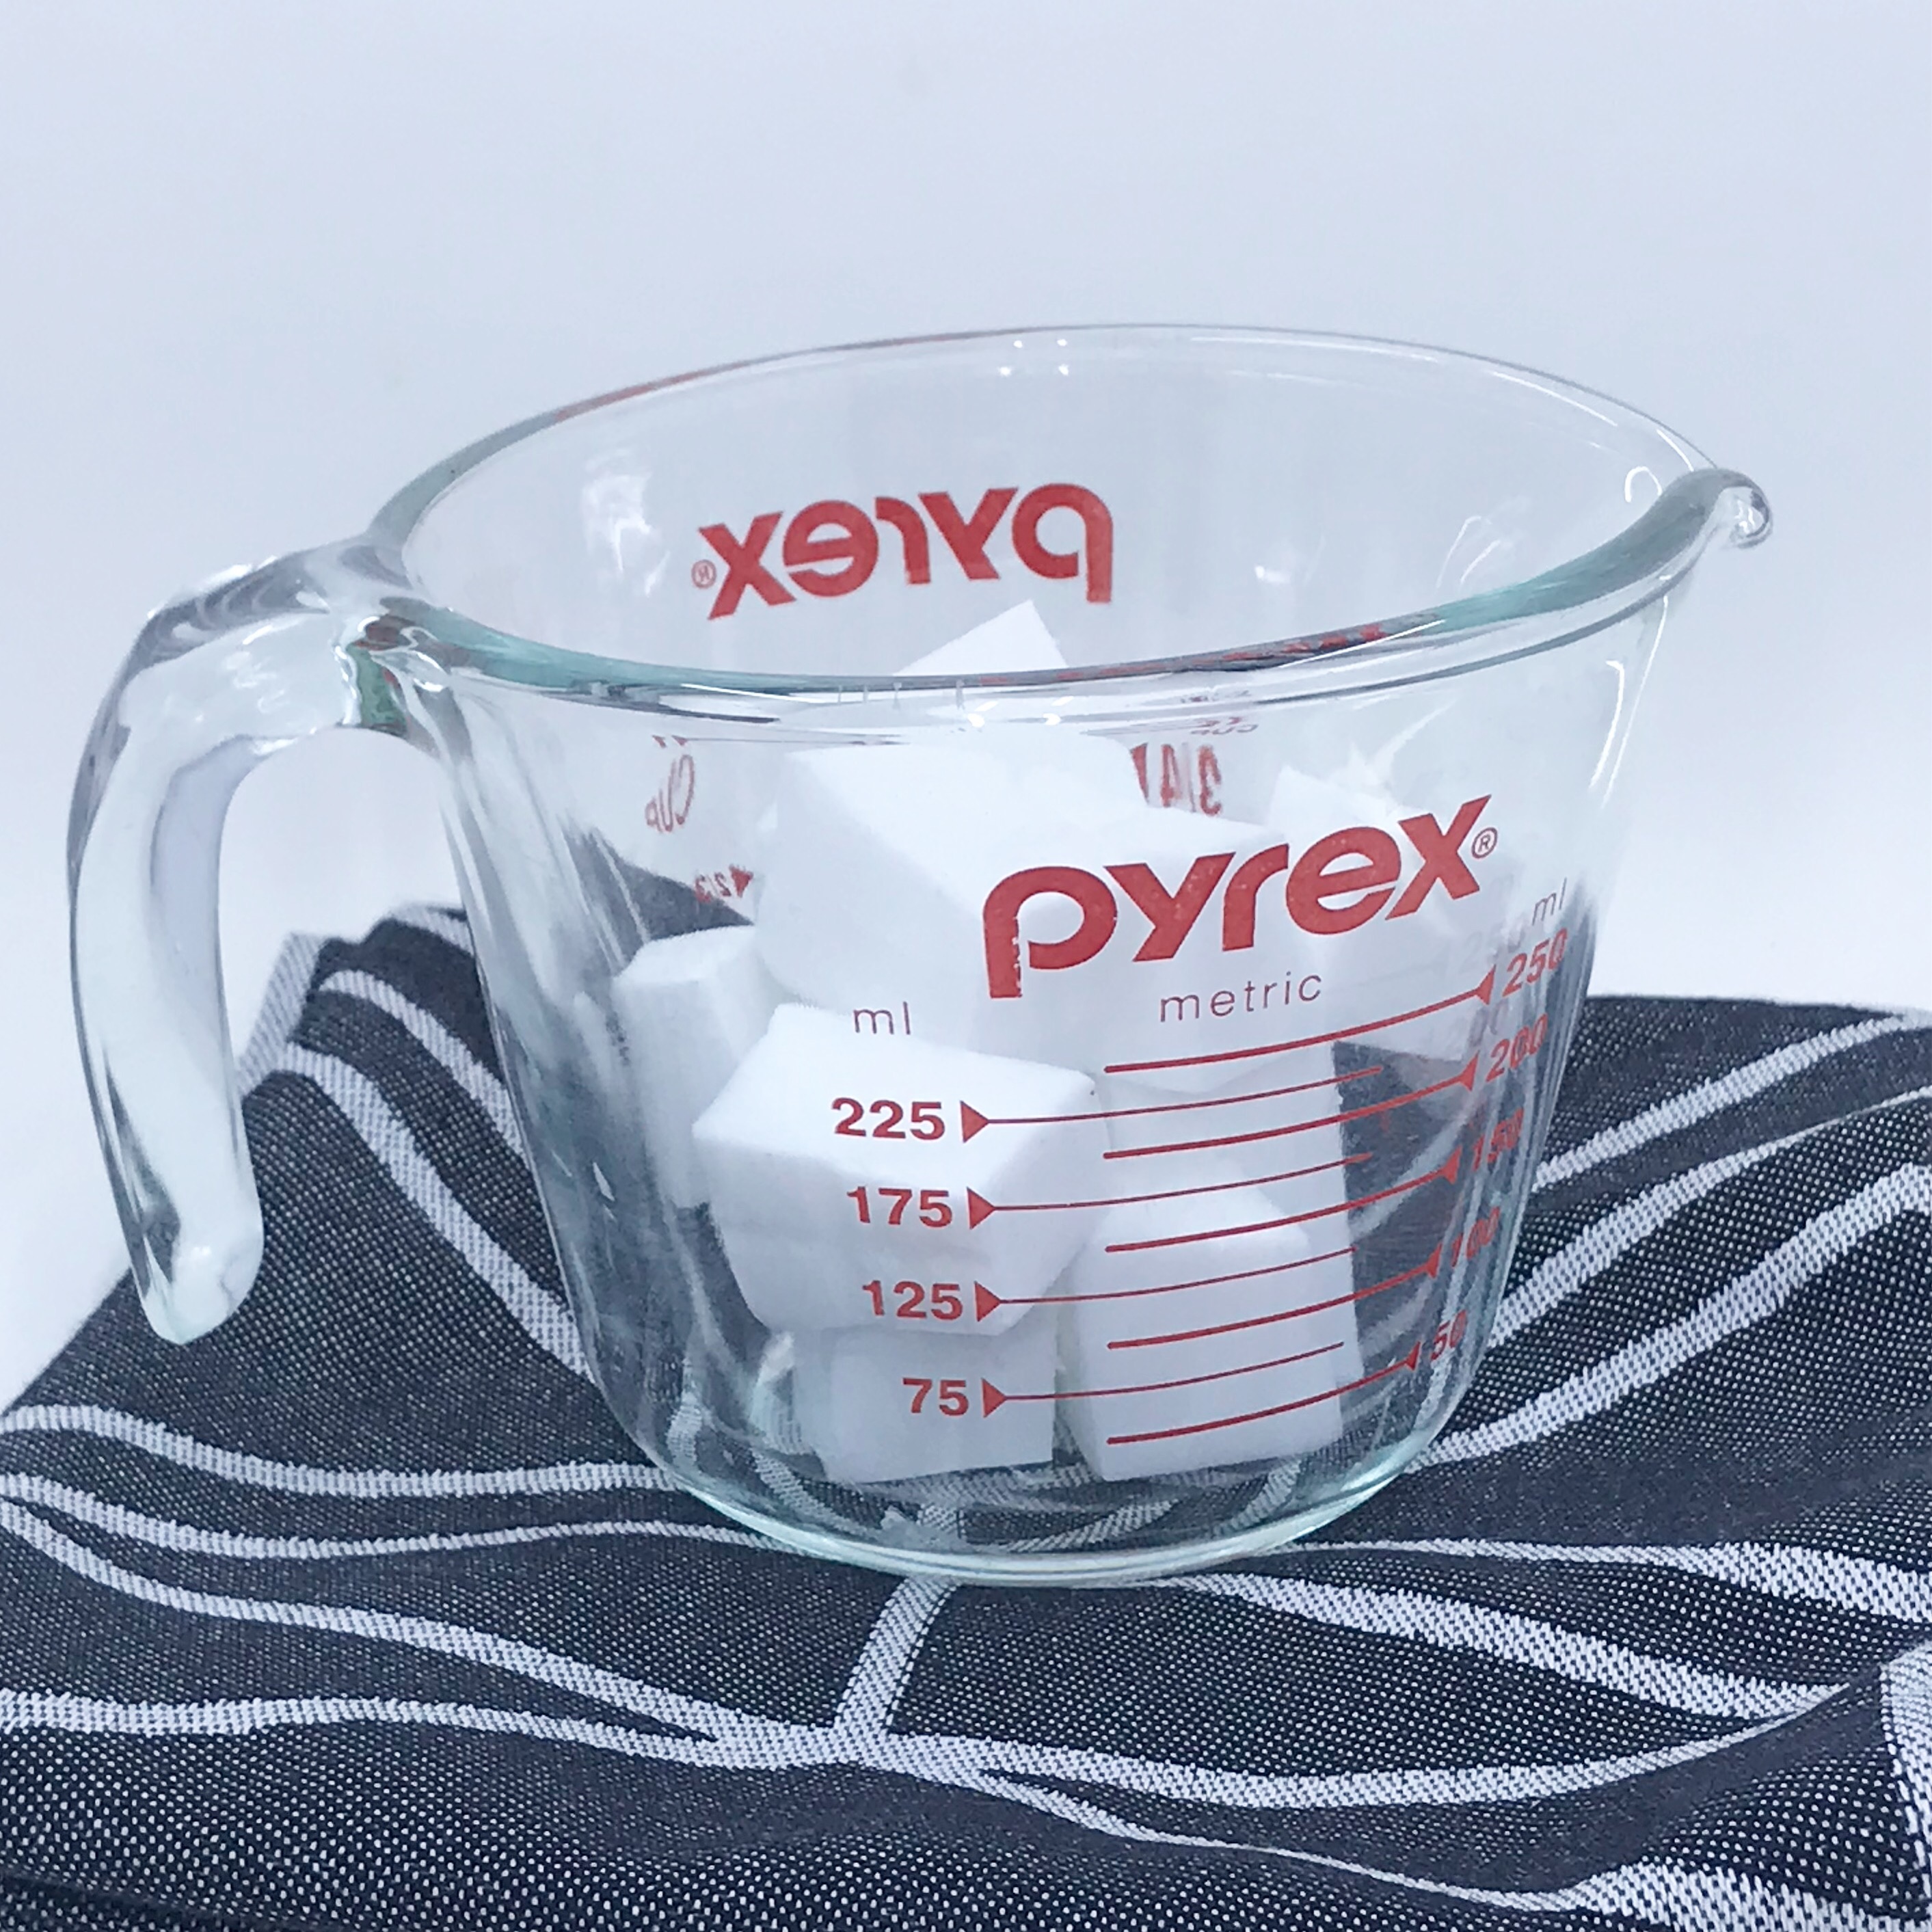
ONE: To begin, cut up sufficient white melt and pour soap base for your skulls and crossbones and place them in a heat proof pyrex jug. Heat the soap in the microwave for about 1 minute or until melted. Keep an eye on your soap, so it doesn’t boil!

TWO: Stir in 1/4 teaspoon of glow in the dark pigment. I used the green colour for these soaps. You can stir the pigment in directly, you don’t have to mix it with alcohol first, because it disperses easily in the soap. Stir well. If you have left the pigment out in the light beforehand, then you can test if the pigment has been dispersed throughout the soap in the dark. Just holding the jug in the cupboard was sufficient for me to see the effect!

THREE: Pour the soap into the mold and set aside to harden and cool. I usually don’t bother with fragrances in embeds. The surrounding fragranced soap will be sufficient.
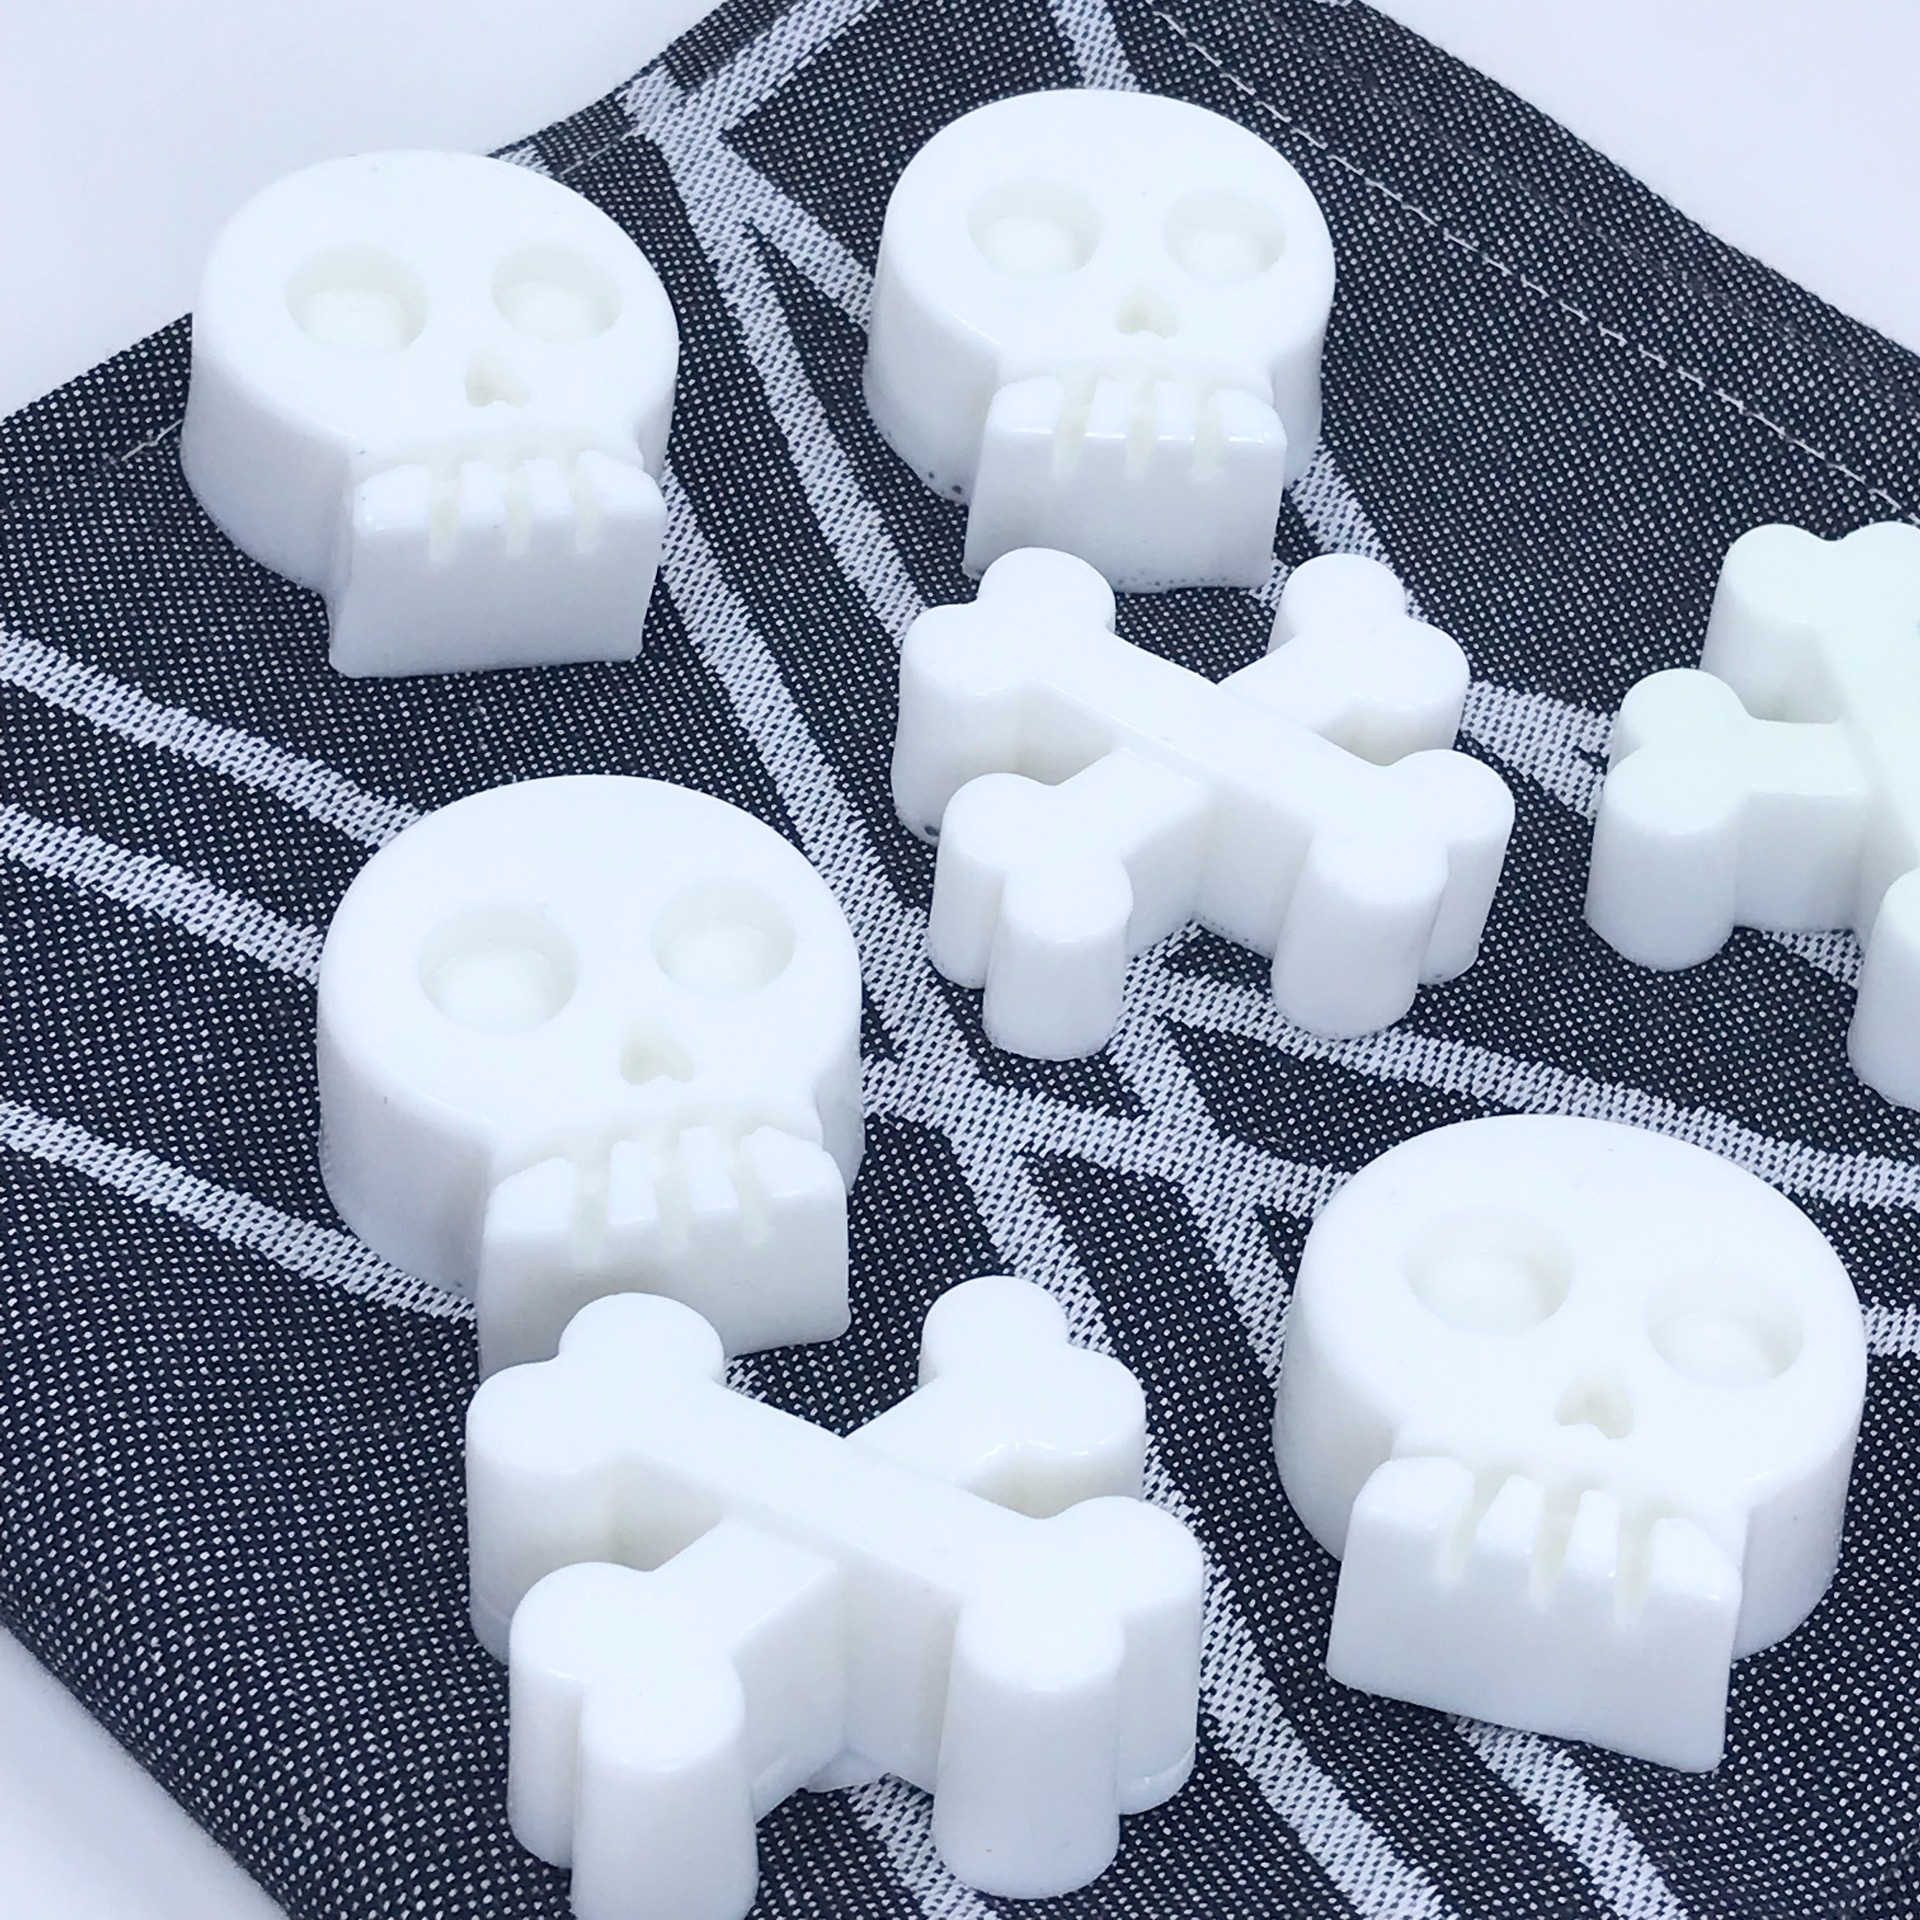
FOUR: Once they’ve hardened and cooled completely, after about an hour, carefully remove them from the mold and set them aside for later.

FIVE: Cut up the clear melt and pour soap and place it in a heat proof Pyrex jug. Cut up enough soap to pour about 1/2 inch of soap into each cavity. You’ll have to eyeball this. Heat the soap in the microwave until completely melted. Again, make sure you don’t let the soap come to a boil.

SIX: Once the soap is melted, add 10 ml of fragrance. I’m using blueberry cheesecake from Candlescience because it’s such a yummy fragrance that I know kids will like – and I am making these as Halloween treats for the kids!


SEVEN: To prepare the colour, add 1/2 teaspoon of activated charcoal to 1 teaspoon of 99% isopropyl alcohol, give it a good stir and then pour it into the soap. Stir the soap until all the colour has completely dispersed throughout the soap.
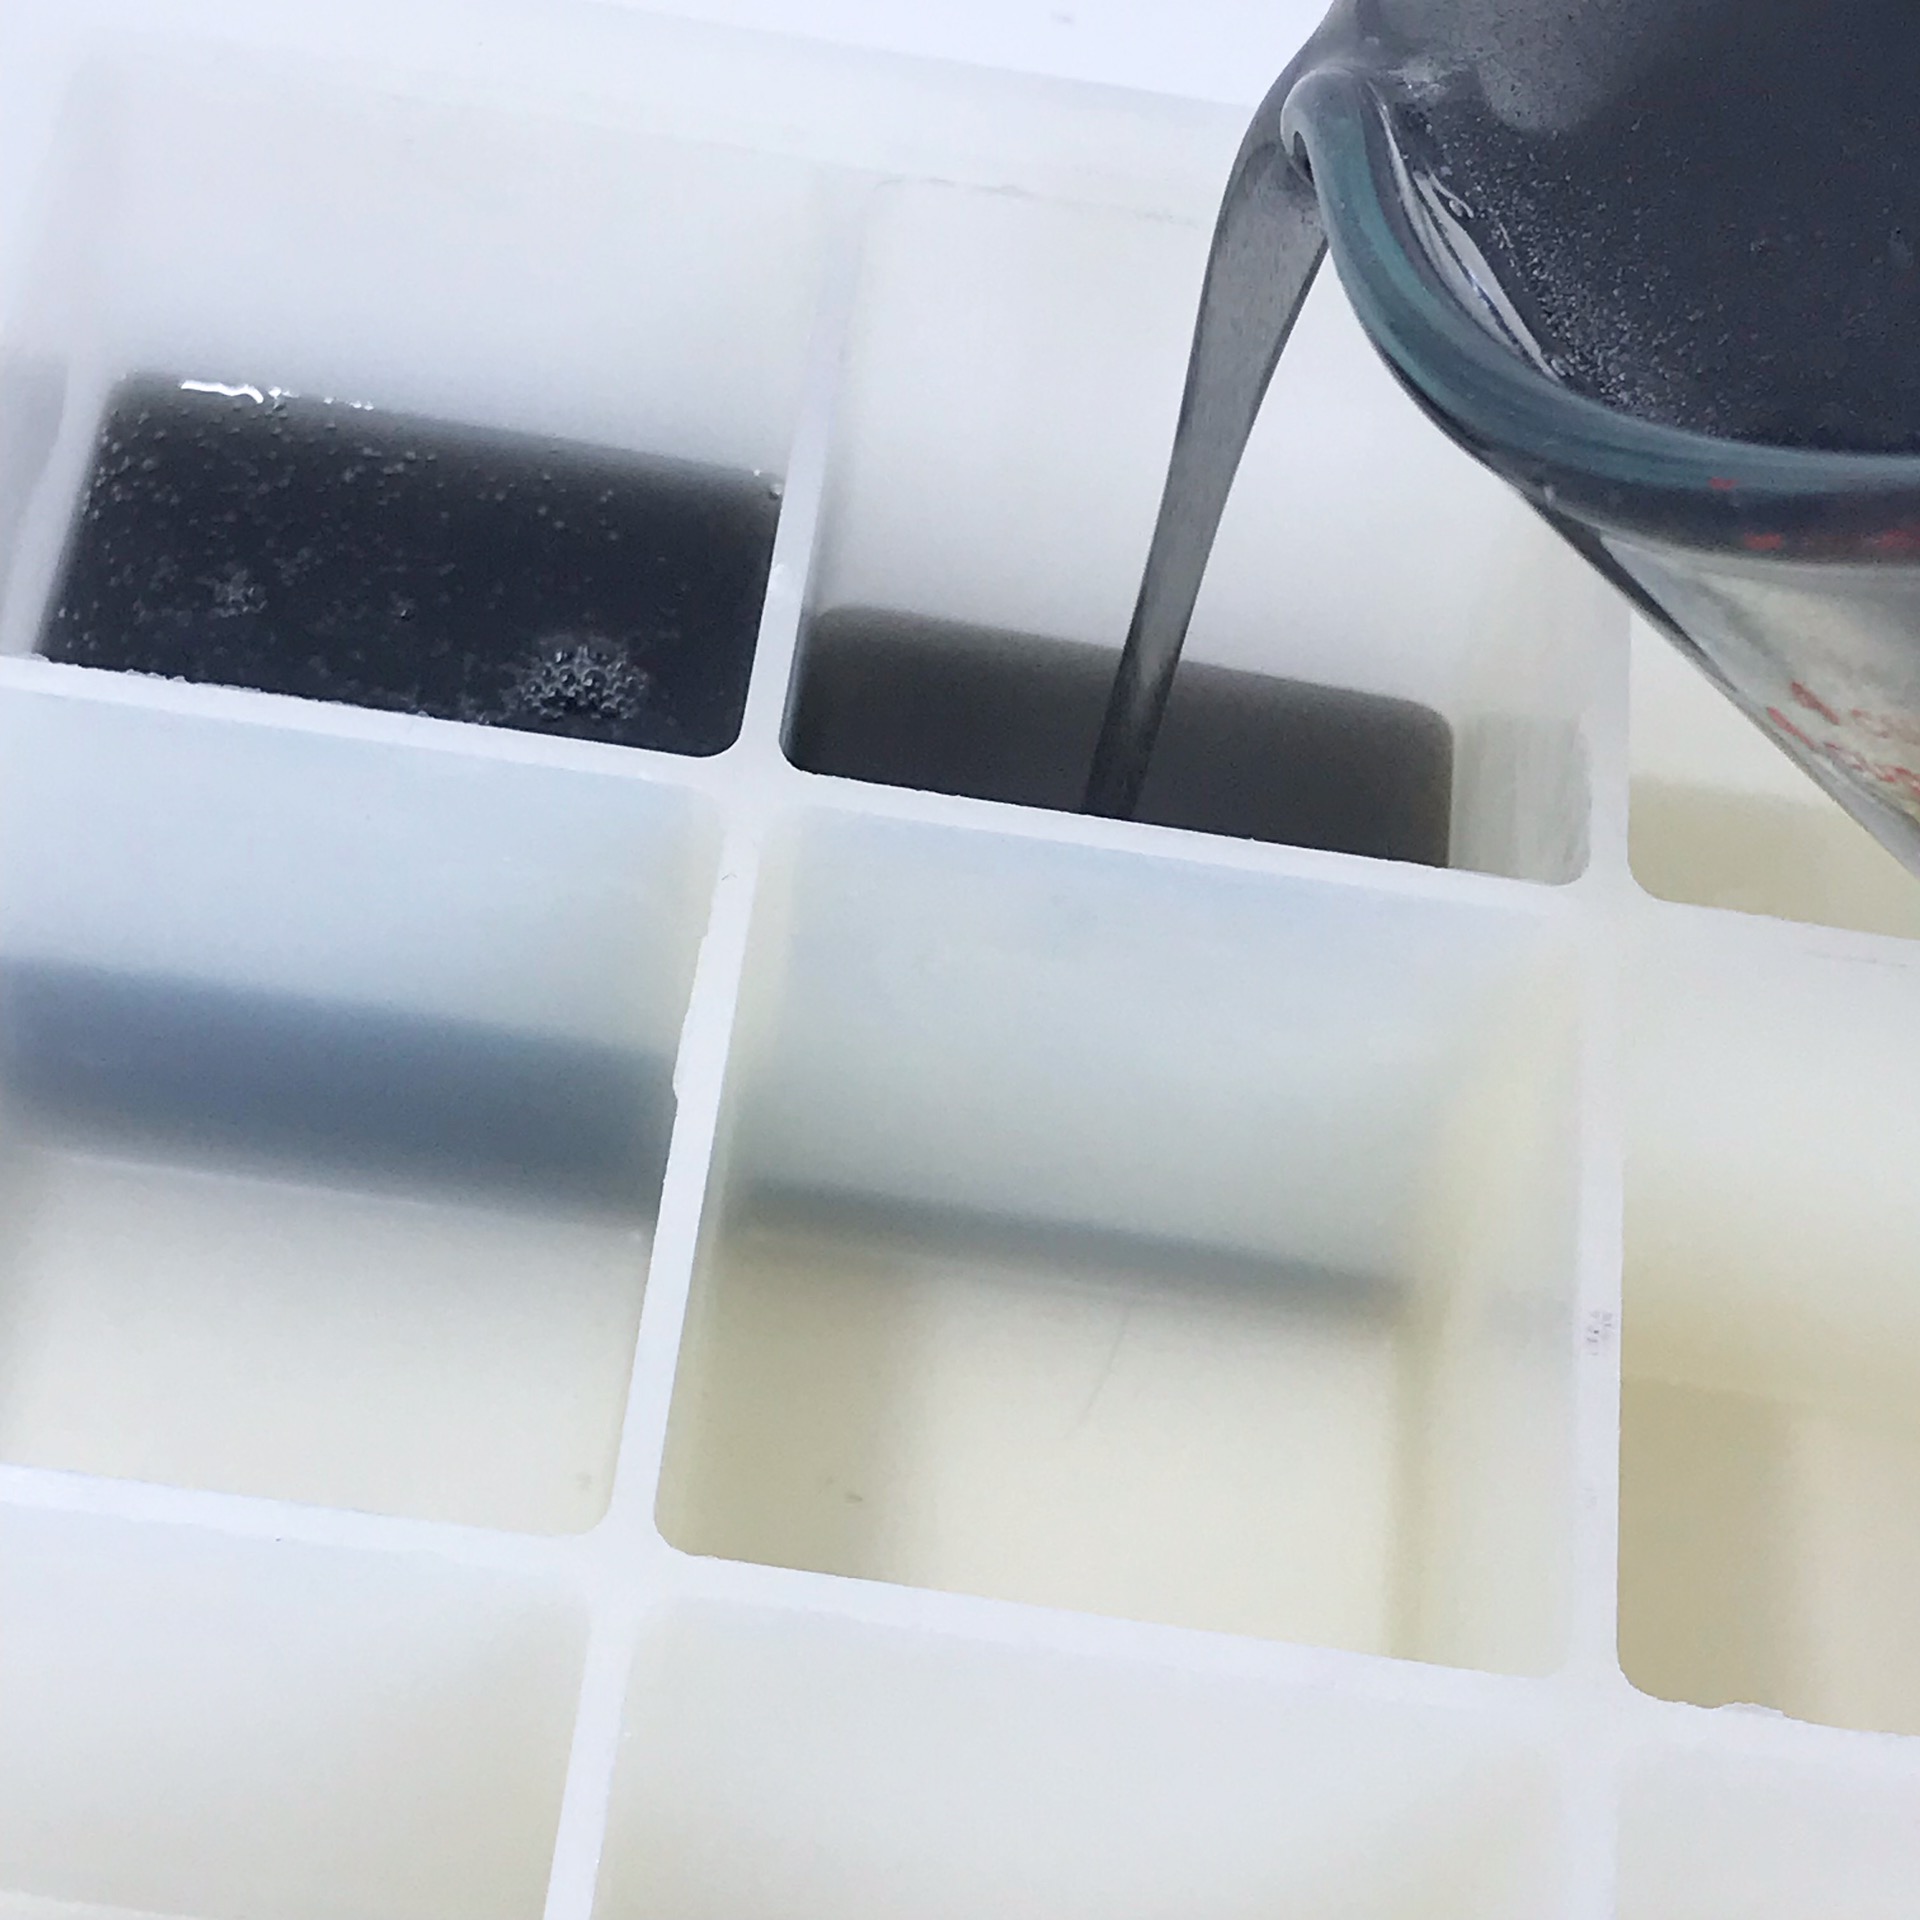
EIGHT: Pour about 1/2 to 3/4 inch of black soap into each cavity of the mold. You’ll have to work quickly now, because you don’t want the soap to set!

NINE: Carefully place the white skulls and crossbones into the black soap. For the best effect, you will want the white embeds to stick out from the black background. But the glow in the dark effect will still work if they have been covered by black soap. I drizzled some black soap into the eye sockets and nose. Don’t worry if you are a messy worker like me, you can easily clean up the soap once it has hardened,
TEN: Leave the soaps to harden and cool down completely before unmolding. Tidy up the soaps by using a very sharp knife, and lift off any black soap ‘splashes’ from the white soap. I also trimmed the edges a bit to give it a more jagged look.
Because these are melt and pour soaps, you will need to store these soaps wrapped in cling foil or plastic to keep from moisture droplets forming on the soaps.
Happy Halloween!


Glow in the Dark Halloween Soap
Ingredients
- white melt and pour soap base
- clear melt and pour soap base
- green glow in the dark soap pigment
- activated charcoal powder
- blueberry cheesecake fragrance
- 99% isopropyl alcohol
- skulls and crossbones ice cube tray (or similar)
- soap mold with square cavities
Directions
- cut up the white melt and pour soap base into small cubes and heat in microwave until melted
- add 1/4 teaspoon of glow in the dark pigment and stir well until pigment has fully dispersed throughout the soap
- pour into the skulls mould and leave to set
- once the skulls and crossbones have set, remove them carefully from the mold and set aside
- prepare the black colour by adding 1/2 teaspoon of activated charcoal powder to 1 teaspoon of isopropyl alcohol
- cut up clear melt and pour soap base into small cubes and heat in microwave until melted
- add 10 ml of fragrance and stir
- add the colour and stir until the soap is an even black colour throughout
- pour about 1/2 inch of the black soap into each square cavity of the mold
- carefully place the skulls and crossbones into the black soap – for the best glow in the dark effect you will want the surface of the skulls and crossbones to stick out of the black soap
- leave to harden and cool before wrapping in cling foil


Be the first to comment